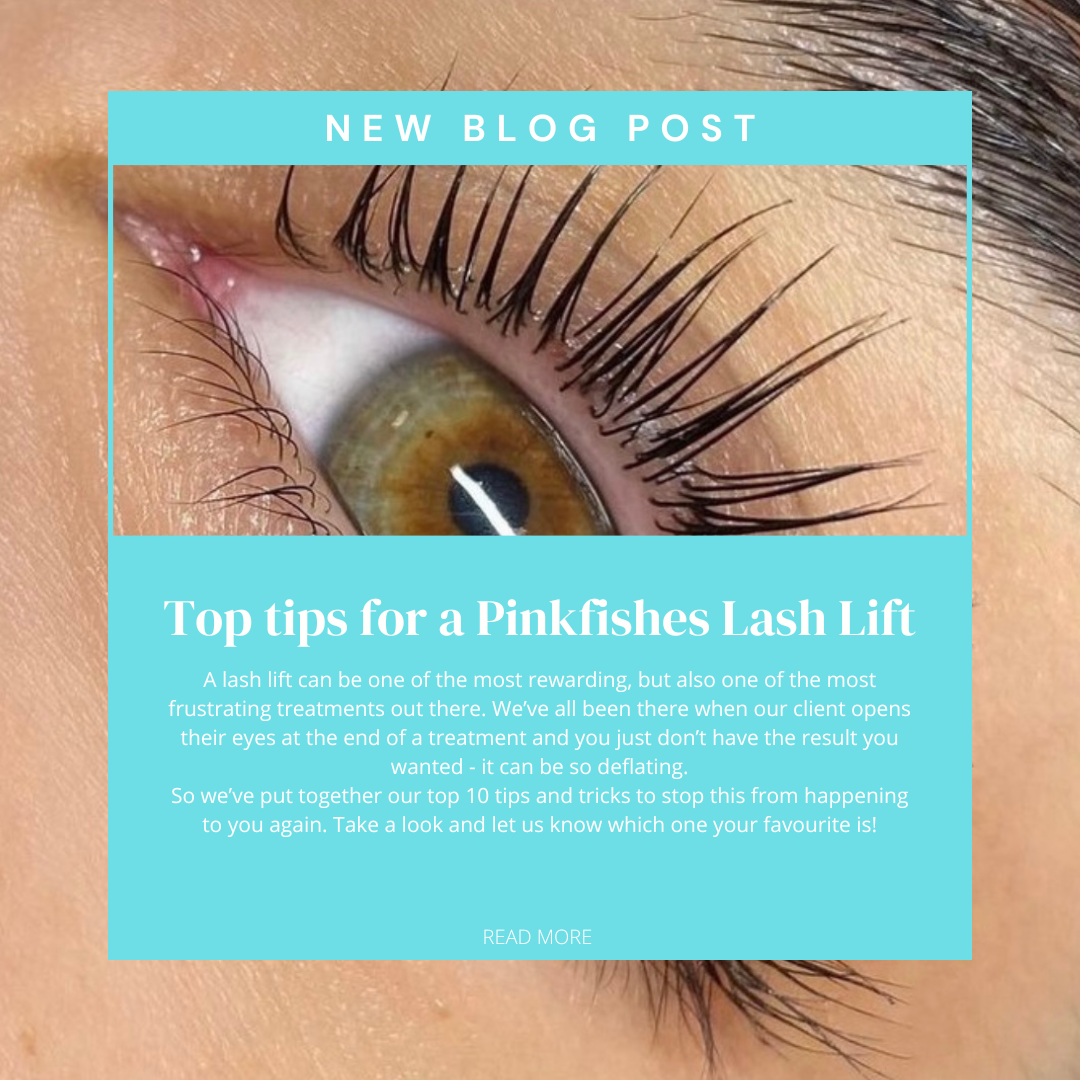

Top Tips for a Pinkfishes Lash Lift
A lash lift can be one of the most rewarding, but also one of the most frustrating treatments out there. We’ve all been there when our client opens their eyes at the end of a treatment and you just don’t have the result you wanted - it can be so deflating.
So we’ve put together our top 10 tips and tricks to stop this from happening to you again. Take a look and let us know which one your favourite is!
1. Cut your shields down
Getting the right positioning of the shields can be quite challenging for certain types of eye shapes, and it can really be the make or break of your lash lift treatment if you don’t get it right. Pinkfishes Shields are made out of a light silicone which means they are flexible and so will easily mould to the shape of the eyelid. However sometimes they may overhang the eyelid causing it to lift and move around. If this does happen, you can cut off some of the excess from the outer or inner corner to allow it to sit along the eyelid better.
2. Tape the eyelid to lift it before applying the shield
If your client has excess skin on their eyelids, you would really benefit from taping the eyelid back slightly before applying the shield. This will give you a better view of the lash line and allow you to get the shield nice and close. We would recommend using a micropore tape to pull the eyelid up into position because it has a great stick to it to hold it in place throughout the whole treatment. See how this would be done here;
3. Use small amounts of bonding serum
As you are gluing the lashes back onto the shield, it's important to use a minimal amount of Pinkfishes Lash Bonding Serum to ensure that it doesn’t effect the lift. As if you are using too much, it can start acting as a barrier to the lifting products, meaning you would have to leave each of the products on longer to get the same results. So its important to apply the glue sparingly to avoid it this happening.
As the Bonding Serum will dry relatively quickly, it's good to get into the habit of working in small sections. Apply the glue to a small area and work on getting those lashes into the correct positioning before moving onto the next part. This way you will be able to get the correct placement with minimal glue.
4. Cleanse the lashes beforehand
If you client arrives with a build up of oils, dirt and/or makeup on their eyelashes, and you proceed to lift over the top of this, you may find that the lift doesn’t go as well as you’d hoped. This is because all of the oils and makeup will act as a barrier to the lash lift products. Therefore it is so important to make sure you properly cleanse the eye area beforehand. This will ensure that the products can properly penetrate the lashes and work as they are intended to do. It will also ensure that the shield properly adheres to the eyelid, as any oily build up on the eyelid will prevent the shield from sticking in place. So cleaning the area around the lashes will help everything stay in place throughout the treatment. We recommend using our Pink Refine lash shampoo or our Pinkfishes Sensitive Cleansing Sachets to cleanse the lashes properly.
5. Properly mix the sachet before applying by massaging the packet for 30 seconds
Our Pink Powerlift, Pink Neutraliser and Pink Hydrate treatments all come in small sachets, to ensure that the product lasts as long as possible with minimal waste. In the same way that you would shake a glue or liquid before using it, its important to massage the sachet to mix the product before using it. Doing so for 30 seconds or so will properly mix all of the ingredients and make sure they are evenly distributed throughout the solution as it was intended to be used.
6. Only apply the solution close to the root (not on the tips)
Both the Pink Powerlift and Pink Neutraliser (step 1 and 2 of the lash lift treatment) should not be applied to the entirety of the lash. Instead it should only be applied right next to the root, and up the lash by around 1-3mm. The tip of our natural lashes will always taper off, so applying the product to these thinner, weaker parts of the lash will cause them to over process. By only applying the step 1 and 2 to the base of the lashes, you will ensure that you get a proper lift and no over processing.

7. Make sure you use the correct shield size
The size shield that you use for your lash lift will massively effect the final look of your lash lift. The smaller the shield size, the more dramatic the lift it will give the natural lashes. However if your client has especially long lashes, using a small shield may leave the client with a kink in their lashes, and more of a straight up appearance, rather than an uplifting curl. If you was to use a large shield on someone with extremely short natural lashes, then there will be virtually no difference in lift/curl at the end of the treatment, as the lashes weren’t long enough to fully reach over the curve of the shield. So it’s really important to ensure that you take the length of natural lash, as well as the desired look of your client into consideration before choosing which shield to use.
8. Shield placement
It is so important to get the right shield placement on the eyelid before proceeding with the treatment to ensure that you get the right lift of the natural lashes. You need to ensure that the shield is sitting right along the lash line, as if it is sitting too low down (over the lash line) – you will get a sort of ‘L’ appearance where the lashes kink over the shield. If the shield is too high up and you can visibly see eyelid skin between the shield and the lash line, then again you wont get the right lash lift results. So make sure you are getting the shield in the perfect place along the lash line before proceeding with the rest of the treatment.
9. Fully remove all of the Pink Powerlift and Pink Neutraliser between steps
In order to prevent the lashes from over processing, you need to make sure that you are fully removing all of the Pink Powerlift (step 1) and Pink Neutraliser (step 2) with a dry cotton bud/pad before moving onto the next step. If the lashes over process, you will see the lashes start to look over curly and dehydrated which we do not want.
10. Use different lash placement on the shield for different styles
Did you know that the way you position the lashes onto the shield, can alter the over all look of your clients lashes? In the same way that we can map different styles for lash extensions, we can also style the way we lift natural lashes for different effects.
The standard vertical application will really open your clients’ eyes making them appear a lot brighter. This lash application is when all of the lashes go straight upwards on the shield.
To create a softer open eye look, you would want to have all of the lashes in the inner corner and centre going vertically upwards, but then the outer corner would be slightly tapered more towards the outer corner of the eye. This gives a much more natural appearance and a more natural lift.
For clients that have quite round or protruding eyes, you can elongate the eye by tilting all of the lashes towards the outer corner. This will give the lashes a lift towards the outer corner, giving that real elongating cat eye effect.

11. Bonus tip - Berry bond!
Pinkfishes Berry Bond is a new lash lift product on the market. It is a glue imitator and instead contains lots of nourishing ingredients like Jojoba Oil and Avocado Oil to hydrate the lashes throughout the treatment. It is an amazing product to use to secure the lashes onto the shield much easier and quicker. Due to the fact that it is a glue imitator, the product will never fully dry, meaning that you can go back in and adjust the lash positioning as much as you need to without having to apply more product.
However, as Berry Bond is a glue imitator, it isn’t as strong as our original Lash Bonding Serum. So if your client has particularly strong natural lashes, you may find that they aren’t held in place as well. In this case, you can still make use of the berry bond to speed up the application of lashes to the shield, and then apply a thin layer of bonding serum over the top to secure the lashes in place. This will still really reduce your treatment time and nourish the lashes throughout the treatment.
If you find the lashes do slightly lift after removing step 1 or 2, ensure the lashes are fully dry from all product and reapply the balm. If you apply a thin layer of the bonding serum beforehand however, you shouldn’t need to do this. You can alternatively use a bit of tape on the ends of the lashes (where the product isn’t being applied) to hold the tips of the natural lashes in place. Or you could even use clingfilm to hold the lashes in place – however you do need to be mindful of your timings when you do this. Clingfilm holds all of the heat in and so as a result the product will work a lot better and quicker – so be mindful of this when looking at your timings as you may need to reduce them slightly to prevent over processing.
Hopefully these top tips will help you troubleshoot any issues you come across when doing a lash lift treatment and allow you to get perfect results every time!
Keep your eyes peeled for our next blog coming soon!