How to Style Pre-Made Glitter Spikes
What are Pre-Made Glitter Spikes?
As lash technicians, we are well aware that the most in demand lash styles and products are forever evolving.
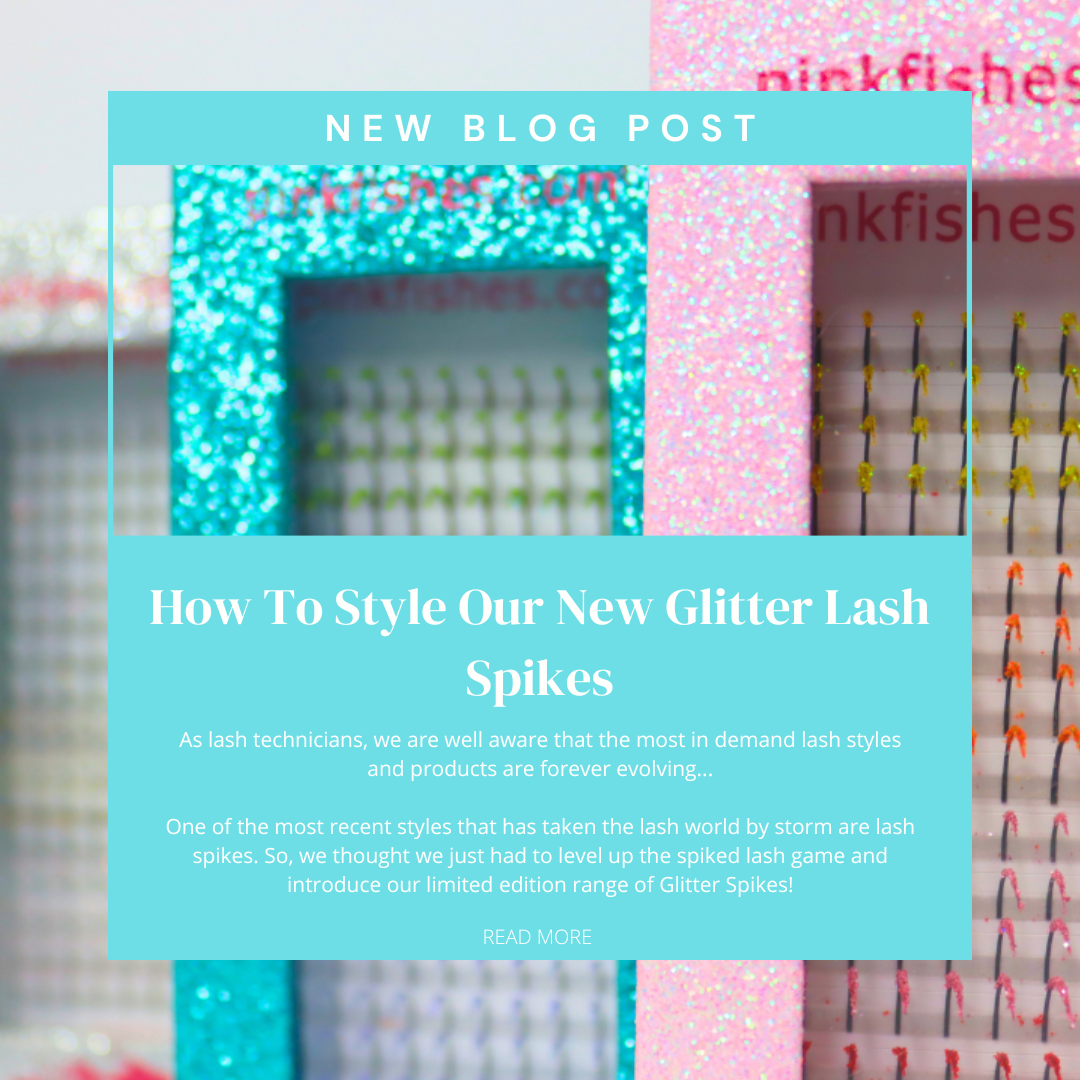
One of the most recent styles that has taken the lash world by storm are lash spikes. So, of course we thought we just had to level up the spiked lash game and introduce our limited edition range of Glitter Spikes!
Pre-made Glitter Spikes are a black spiked lash with glitter wrapped around the spike. Pinkfishes Pre-Made Glitter Spikes save you time as the lash is already created so just add them to your sets to add a pop of colour and glitter!
How to apply Pre-Made Glitter Spikes
You apply our Pre-Made Glitter Spikes as you would a regular classic lash with 1:1 application. Adhere the spike to the natural lash, we recommend using a clear glue such as Pink Supreme Clear or Pink Naked Clear so that you do not cover any of the glitter in adhesive.
What Glitter Spikes do Pinkfishes Stock?
Pinkfishes have got 3 different Pre-Made Glitter Spike boxes to choose from. Each box has a different collection of colours.
Pinkfishes Glitter Spikes are created using 0.07, D-curls and will have lengths 10mm, 12mm, 14mm & 16mm in each box. Each box contains 4 different colours with four strips of each colour, one in each length.
How to Map out Pre-Made Glitter Spikes:
-
Map your client’s desired look onto the eye pad or tape, then map out where you want the spikes to be placed across the eye-line. (Please see image above for example of a spiked lash map). Once you have mapped out the look, complete your set as you normally would with your fans/individual lashes (Classics/Hybrids/Russians) but ensure that you leave a few lashes to work on where you have mapped out your spikes, whether that be the whole way across the eye line or just a few throughout. Then comes the fun part… Applying your Pre-Made Glitter Spikes!!! When you are doing a regular spike lash look, the spike placement is usually on the top layer of lashes, however with these beautiful new glitter spikes, we would recommend using the lower layer so they are not covered by any other lashes and are 100% visible for all your clients’ to show off.
-
Once you have mapped out and completed your client’s overall desired lash look using your fans/individual lashes, you can then apply the spikes to the top layer of lashes to align with the spiked lash map you have created. This will make the Glitter Spikes very prominent on the top of your client’s lashes and will look beautifully unique when your client is looking down. Applying the Pre-Made Glitter lashes this way will make the glitter more subtle mixed within the set.
-
Another way to apply our new Glitter Spikes is by mapping out the desired look and before you apply your normal Russian/hybrid lashes, you can apply the Glitter Spikes onto the bottom layer of lashes, to align exactly where there they have been mapped out on the eye pad/tape. Once you have applied the Glitter Spikes, you can complete your desired look with your fans/individual lashes. This method will give a full view of the Glitter Spikes once the client’s eyes are open and can make it easier for you to perfectly place the glitter lashes evenly on both eyes as you have a clearer view.
-
In addition to the two options above, you can map your set out on the eye pad/tape, complete the normal set of lashes and once you have completed your desired lash look, and then place the glitter spikes underneath the lashes on the lower lash layer as you can see in the image below.
Pinkfishes favourite ways to style Pre-Made Glitter Spikes
STYLE 1: Black lashes with coloured spikes throughout or on outer corners
One way to style our new Glitter Spikes is on a set of regular black extensions (we have used a set of Russian lashes as an example below), and then you can add the Glitter Spikes throughout the set to create a beautiful little pop of colour and glitter for your clients. There are several colours in our new Glitter Spike boxes for your clients to choose from to pair with their lashes and we definitely think this will be one of the most popular ways to use our Glitter Spikes!

STYLE 2: Black lashes with colour pop and Glitter Spikes on outer corners
One of our personal favourites is a regular black set of lashes, creating a colour pop at the end of each eye and using the Glitter Spikes to either separate the colours or use across the colour pop… Colour pops and coloured Glitter Spikes are ideal for your more adventurous clients who may want to coordinate their lashes with their nails, a specific outfit, maybe a bright hair colour or maybe just their favourite colour! Adding in the coloured Glitter Spikes will just enhance the set that little bit more!

STYLE 3: Brown lashes with gold spikes throughout or on outer corners
Another great way to style our new Glitter Spike lashes is to use them within a brown set of lashes. This style is a little more unique and great for clients with fair skin and hair as brown lashes will compliment their complexion beautifully. In our new Glitter Spike boxes we have included gold glitter which will of course work amazingly within a brown set of lashes and will just give your clients a lovely shimmer from the glitter on each spike.
STYLE 4: Full set of coloured lashes set with coloured spikes throughout or on outer corners
Our final recommendation of how to style our new Glitter Spikes is on a full set of beautiful coloured lashes and either using the matching coloured Glitter Spikes throughout the set or at each end of the lashes (please see example below!). This style is for your most adventurous clients that are all about coloured lashes and standing out from the rest!
