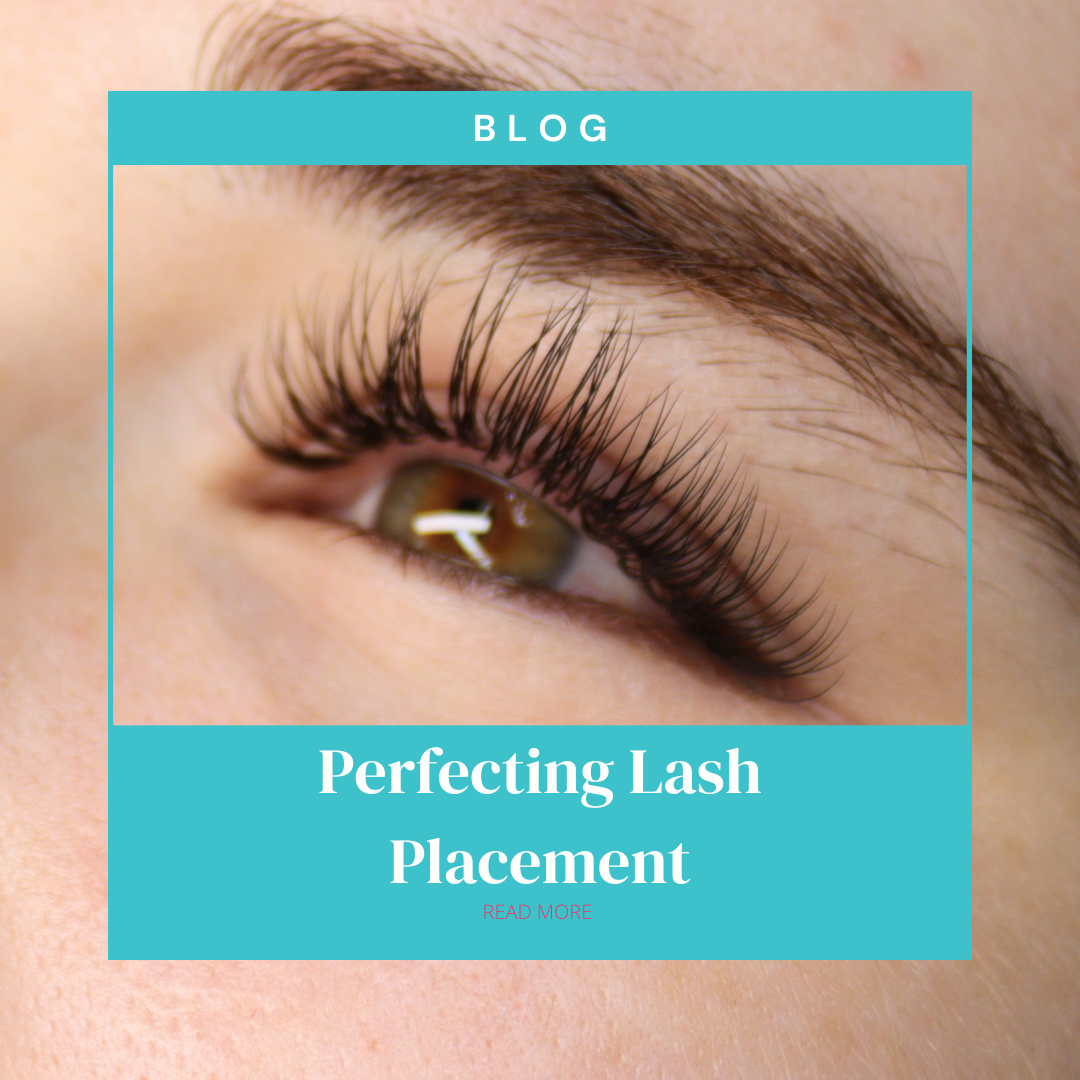
Perfecting Lash Placement
Did you know, the way that lash extensions are applied can drastically change the final look? While many lash artists traditionally attach extensions to the top of the natural lash, it's equally important to know when to place them to the bottom or side. In this guide, we'll explore these methods and offer top tips for optimal lash placement.
Overview of Lash Placement
Proper lash placement is essential for achieving long-lasting, comfortable, and beautiful lash extensions. The way an extension is attached to the natural lash directly affects retention; it can also affect the styling and overall appearance. It is really important to quickly assess your client's natural lashes before applying a lash extension to them, and think about the best placement method for each lash. This small step will save you time during your treatment, and help the lash extension to bond to the natural lash better.
Attachment area: The distance between your client's eyelid and the lash extension should be around 0.5-1mm. If the lash extension is too close to the eyelid it can cause irritation, discomfort and poor retention. If the lash extension is also not placed correctly when being applied, this will massively affect the retention.

(Diagram: Incorrect placement of eyelash extension)

(Diagram: Incorrect placement of eyelash extension)

(Diagram: Correct placement of eyelash extension)
Natural lash direction: Ensure that you assess your client’s natural lashes during the consultation so you can see the directions in which the lashes grow. This will help you to plan out the best possible application technique for the treatment.
Lash extension direction: Placing the lash extensions in the correct direction during application is important so that they do not look messy and cross over one another. Typically, 90 degrees from the eyelid is the perfect angle for an extension to be placed, rather than following the direction of hair growth.
Inner and outer corners: When lashing, the inner and outer corners of your client’s lashes can be some of the most difficult to lash. To ensure that you are placing the lash extensions properly on these lashes, ensure that you have prepped correctly. This includes taking time to place your tape/eyepads accurately, and potentially using tape on the eyelids to help lift the lashes to get better access. A great tape for this is Pinkfishes Silicone Gel Tape.
Placing Lash Extensions on Top of the Natural Lash
This is the most common technique. With this method, the extension is applied directly on top of the natural lash, parallel to the lash line - thisworks especially well for clients with straight or downward natural lashes.

(Diagram: Top placement of eyelash extension)
Placing Lash Extensions on the Side of the Natural Lash
This technique involves adhering the extension to the side of your natural lash. This method works especially well on clients with not that many natural lashes, as placing the lash to the side of the natural lash makes them look slightly fuller. It also will help fill in small gaps that clients have between their lashes. Another advantage of side placement is that it is brilliant for clients with natural lashes that grow in diagonal directions - by placing the extension on the side of the natural lash, it can help correct it's direction and give a more uniformed finished look.

(Diagram: Side placement of eyelash extension)
Placing Lash Extensions Underneath the Natural Lash
Here, the extension is placed underneath the natural lash rather than on top or to the side. This method works perfectly for clients with curly or more upturned lashes, as it avoids fighting against the natural curvature of their eyelash, which will inevitably take up more of your time trying to bond the lash extension to the natural lash.

(Diagram: Bottom placement of eyelash extension)
(Different Methods of Lash Placement)
Top Tips to make Lash Placement Easier
Priming the Natural Lashes
Priming the natural lashes is an extremely beneficial step for some clients, but not all. Lash primer helps to remove oils, makeup residue, and dust from the lashes, creating a clean base for the extension to bond properly. The perfect client to use lash primer on, would be clients who have naturally oily lashes or skin. However, if you notice that your client has especially dry lashes, using a primer may not be a good idea as it may further dehydrate the lashes, weakening retention. In cases such as this, cleansing the lashes with an oil-free lash shampoo would be sufficient.
*Glue's need a certain amount of moisture to be able to cure properly so if you notice the lashes aren't sticking as well as normal after using a primer then this more than likely means that the lashes are too dehydrated.
Layering the Natural Lashes
On average the human eye has 3 layers of eyelashes. Working layer by layer helps ensure better coverage, a more even distribution of extensions, and a fluffier, more dimensional result. It also helps to isolate the natural lashes and prevent stickies, making lash placement easier.

(Taping the top layer of eyelashes)
Looking after your Lash Adhesive
It's important to store and handle your lash adhesive properly in order to achieve better retention results. Lash adhesive should be kept in a cool, dry place, away from direct sunlight. If your room is too cold, it will usually mean that your humidity will drop and cause your glue to take even longer to cure.If your room is too hot, this usually means that your humidity will rise and cause your adhesive to cure much quicker than usual. Once you have opened your lash adhesive it needs to be used within 4-6 weeks, as the cyanoacrylate starts to degrade once it is exposed to air and moisture. You also need to ensure that you are shaking your lash glue for at least 30 seconds before using it, in order for the ingredients in the glue to properly mix. If the glue is not mixed well enough, the consistency of the adhesive can appear too thick or too runny, as the heavier components may settle at the bottom of the bottle. This will lead to difficulty during lash application.

(Diagram: Lash adhesive ingredients)
Whether attaching lash extensions to the top, side or underneath the natural lash, the right technique can only be determined by you when assessing your clients natural lashes. Choosing the wrong technique can impact the retention results greatly. However, there are a number of other things to consider which will help you with lash placement, such as priming, layering and looking after your glue. It is also important to avoid common mistakes, such as applying the lashes too close to the eyelid. By mastering lash placement techniques, you will be able to adapt your lash application for each client and help achieve the best results possible for each of them.


